
For my daughter, I've been buying second-hand as much as possible. If it can be washed and disinfected, it will be second-hand. She loves noisy books right now, so I've been getting some cheap books from Vinted and charity shops. The other day I found a noisy book in a charity shop for £1, but I couldn't test it. I assumed the batteries had died, so I still bought it. I was right regarding the batteries - they were dead - but after replacing them, I still couldn't get the book to work. I've wanted to learn how to fix small home appliances, so I thought this would be an excellent first project.
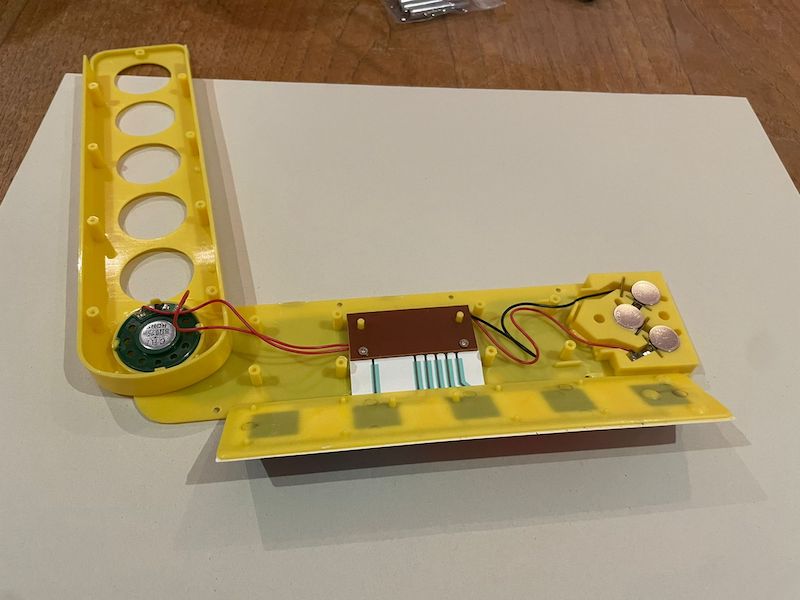
I've made quite some mistakes along the way, so I will share them here, hoping that someone does not make them! The book is now fixed and working, but I did waste some time fixing the wrong things. The first thing I did was search YouTube for videos showing how to fix noisy books. I found two of them, and they were interesting but threw me in the wrong direction. The first video showed how to replace the speaker in a noisy book. Like me, they replaced the batteries, but pressing the buttons still didn't produce any sound, so they showed how to solder a new mini speaker into the book.
So, of course, that's what I did! I got an intro kit into soldering, bought a mini speaker and began the task of soldering this new speaker. I spent time learning how to do it on YouTube and then tried it. It was not easy, but fascinating. Once that was done, I tested it out, and it was still not working. Bummer.
The second YouTube video showed me someone testing things out and replacing the chip that holds the sounds because the chip was dead. In my head, this made sense. There are only three items here: batteries, chip and speaker. If a new speaker and batteries are in, the problem must be the chip.
Things would get more complicated if it were the chip, but I was keen to learn! But it was time to ask for help. I tooted on Mastodon asking for help and was reminded that FFConf's discord server has a hardware help channel.
Remy asked if I had a multimeter. (which I didn't). He followed:
"You should have continuity through the speaker if it's working - also useful to test if the voltage is coming in. Since the chip is under a resin blob, it's hard to think the chip is gone/bad, but if that's the case, I'm sure I've seen boards like this on Alix (and I'll take a look for you)."
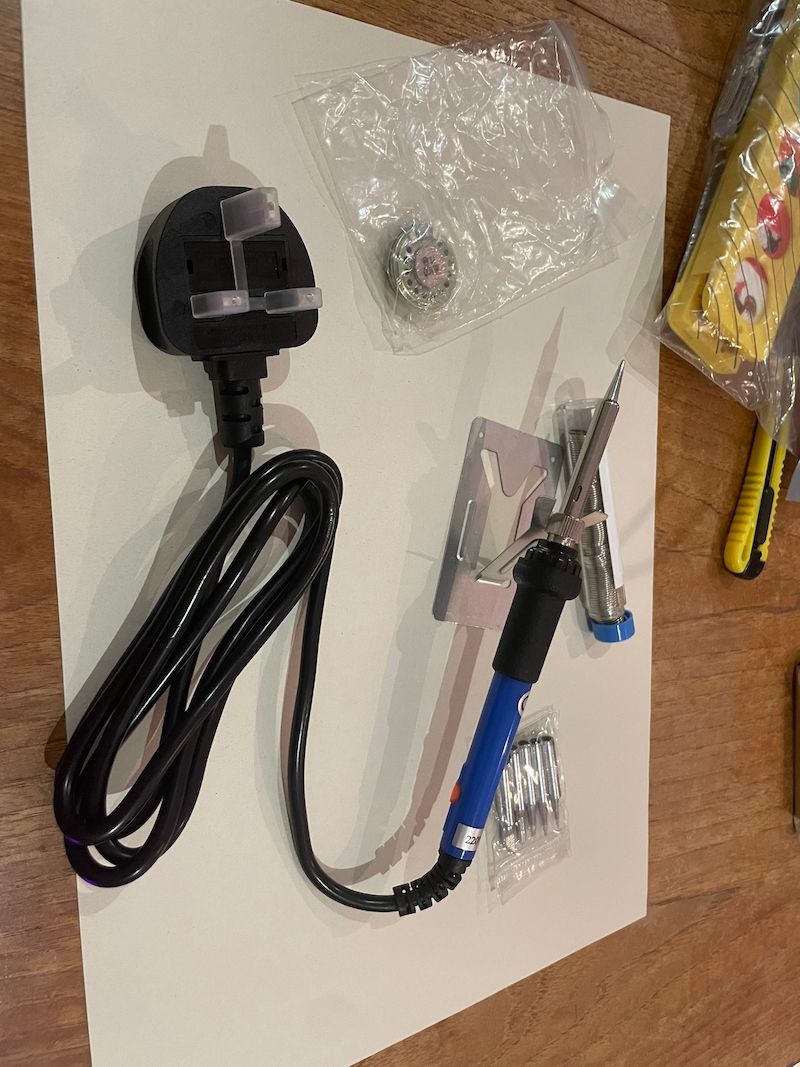
I bought a multimeter. A tip shared by Sarah was to get one that makes beep-beep sounds so that you don't have to look at the screen. At this point, I had exceeded the cost of buying this type of book brand new, but the thought of saving this one from landfill was very exciting.
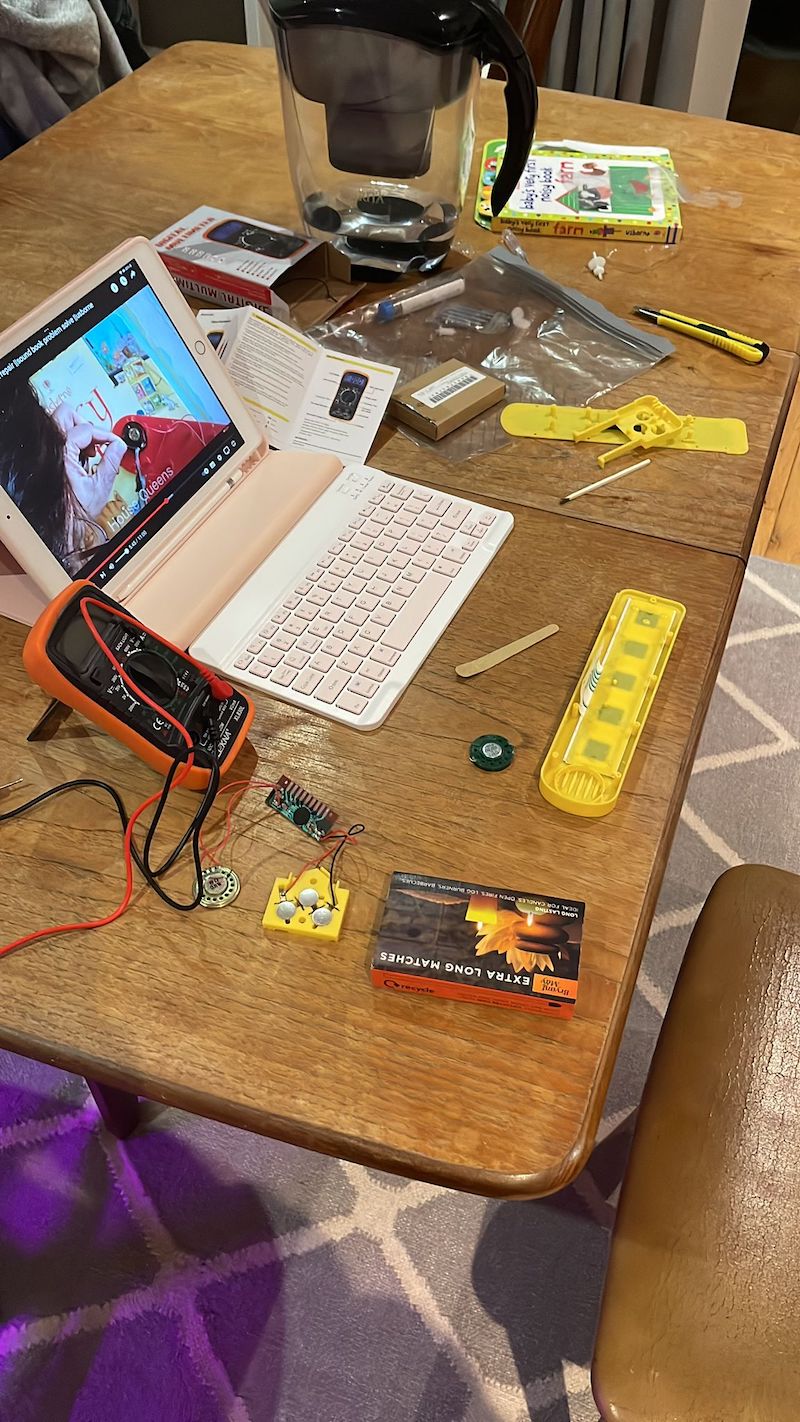
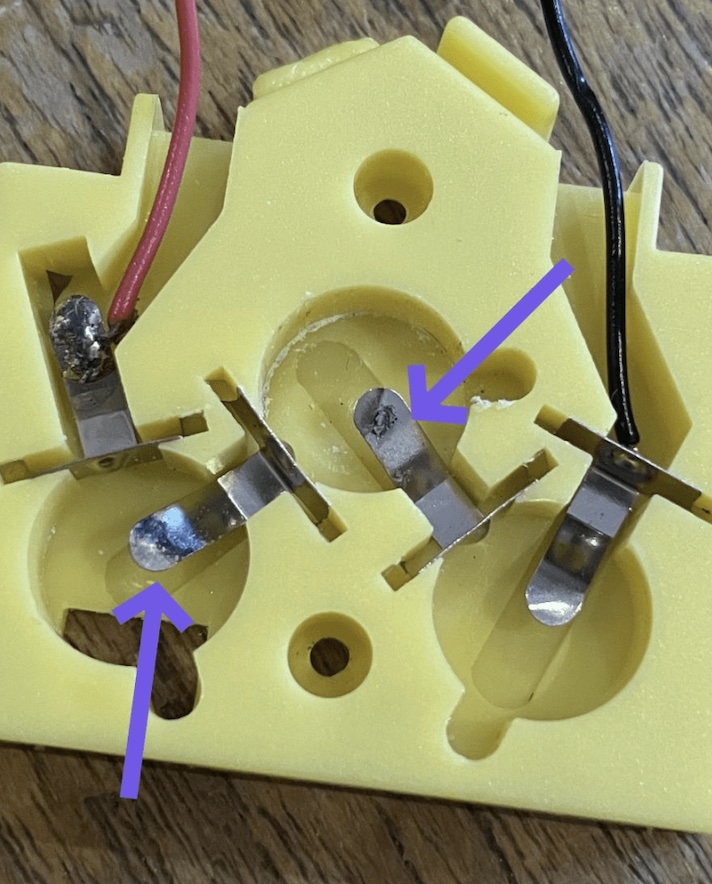
It was tough to find a YouTube video that showed how to use a multimeter in this scenario, and of course, I wasn't using it right. Remy very kindly annotated the photo I provided, which helped me understand how to use the multimeter to check for continuity. All the beep-beep was there, so continuity wasn't an issue. It was time to test the voltage.
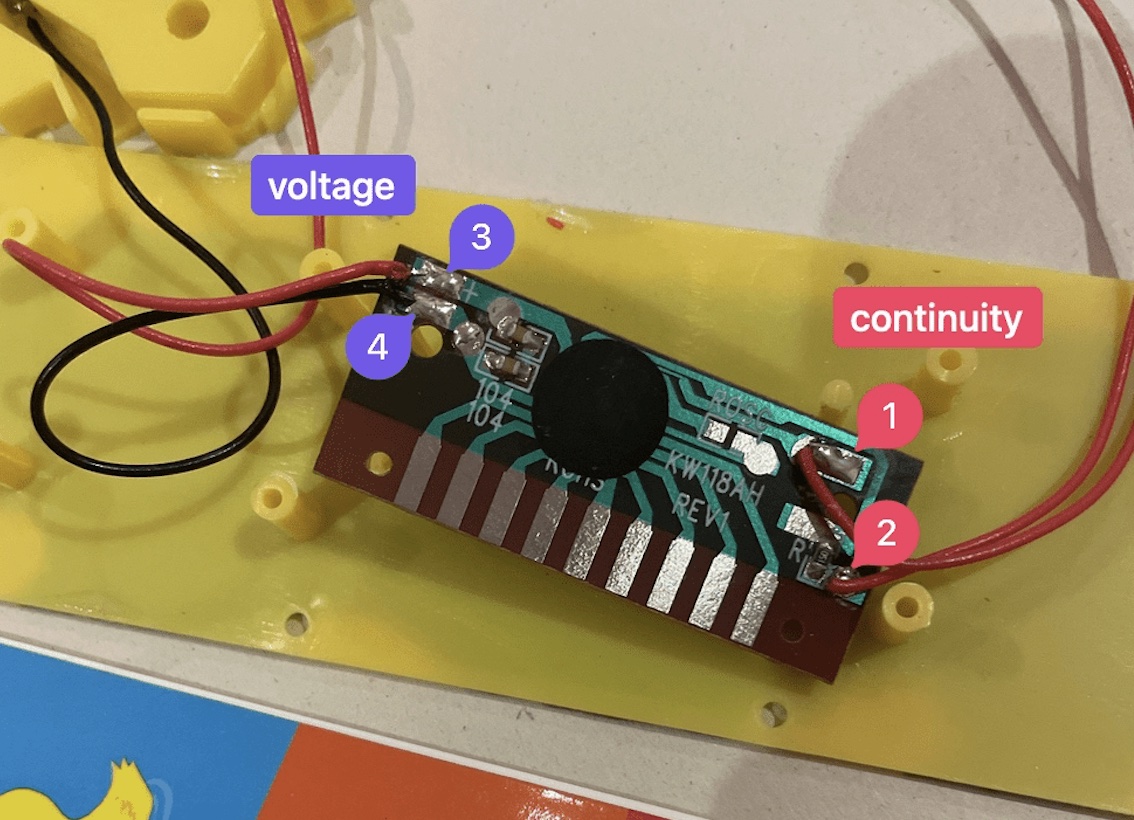
There are three batteries, but I was only getting a little over 2V. Remy said that it was too low and should be around 4.5v. Okay, we're getting somewhere. Using the multimeter, I checked if the batteries were full (they were), and I also took a close-up photo of the battery holder just in case. Remy spotted the culprit quickly. There was some corrosion in the metal. He then dropped pieces of wisdom:
"This would add resistance and reduce the voltage being delivered. (...) put a very small amount of white vinegar in a pot/glass pot and put in the microwave for about 15 seconds - doesn't need much more. then drop those two metal tabs in there. it should fizz for a bit, it'll remove the corrosion - then dry them off (really well), replace and test. (battery corrosion is alkaline, and vinegar is acid, so mix the two => water)."
So I did that. Then, the voltage was over 4v. Then I assembled it all, and it worked!! It worked!! I was over the moon! I was disappointed that I misidentified the cause of the issues but glad I learned something. But most importantly, it is saved from landfill!
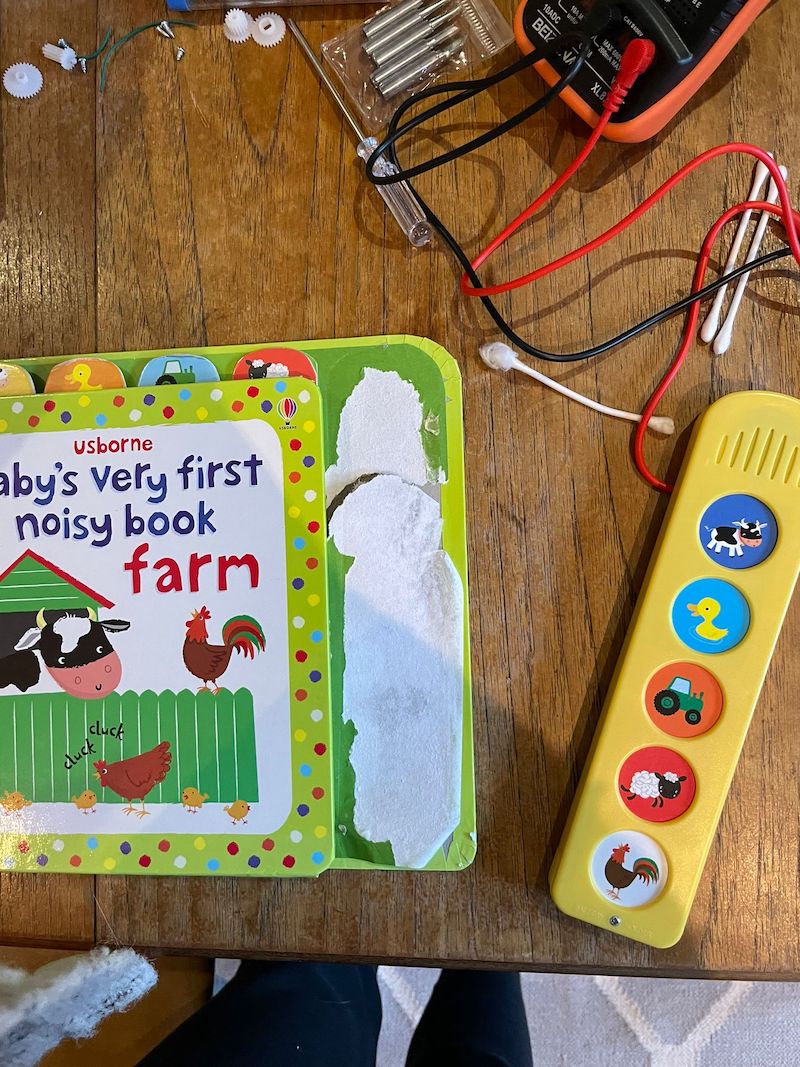
After assembled, I fixed the paper with green self adhesive paper I had left over from other crafts.
Thanks Remy and everyone who replied to my toot! I'm super happy I was able to fix this. Also, I was wondering if I could make a custom noisy panel for my girl. Something like a family member's face, and if she presses, something we say plays. That would be cool!
Lessons learned:
- You can do this!
- Don't be afraid to ask for help!
- Don't assume the first solution YouTube tells you is the right one if you don't know the basics.
- Basics matter!